![GoGen_LOGO_Circle-04.png]](https://help.gogenerosity.com/hs-fs/hubfs/GoGen_LOGO_Circle-04.png?height=50&name=GoGen_LOGO_Circle-04.png)
How to set up your GoGenerosity Pay-it-forward widgets
This guide covers adding the GoGenerosity Pay-it-forward widgets to your store, styling them to match your brand, and moving them to where you want them.
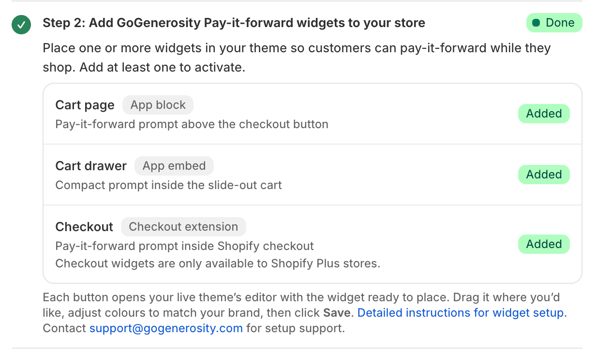
You can add the following widgets to your site:
| Widget | Type | Where it appears | Who can use it |
|---|---|---|---|
|
Cart page (also works on Product Pages) |
App block | Your full cart page, near the checkout button | All stores |
| Cart drawer | App embed | Your slide-out (side) cart | All stores |
| Checkout | Checkout extension | Shopify checkout | Shopify Plus stores only |
You need at least one widget for Pay-it-forward to work.
Create your pay-it-forward product
- Open GoGenerosity → Setup in Shopify.
- Complete Step 1: Create a Pay-it-forward product.
- Click Customise product to update its name, description and image. These are the details customers will see when they add a donation to cart.
Add the pay-it-forward widgets to your store
1) Adding the widget to your Cart Page
- Under Step 2: Add GoGenerosity Pay-it-forward widgets to your store, find Cart page and click Add in theme editor.
- The theme editor opens with the GoGenerosity widget added.
- Select the widget to open its settings.
- Turn on Use custom button classes.
- Enter the following Custom Button Classes to style the widget's buttons to look like other buttons in your store:
| Field | Value |
|---|---|
| Primary button class name(s) | button button--primary |
| Input field class name(s) | button button--primary |
6. Optionally turn on Expand impact section to display your impact statistics.
7. Click Save.
These classes use your theme’s existing styling. If your theme uses different button classes, you’ll need those instead.
2) Adding the widget to your side cart / cart drawer
- Return to GoGenerosity → Setup.
- Under Cart drawer, click Add in theme editor.
- In App embeds, open and enable Cart drawer auto-inject.
- To place the widget below the checkout button area, enter the settings shown in the recording:
| Field | Value |
|---|---|
| Cart drawer container selector | #CartDrawer |
| Insert target selector | .cart__ctas |
| Insert position | After target |
| Use custom button class name | On |
| Custom button class name | button button--primary |
5. Adjust Prompt horizontal margin and Prompt vertical margin to create the spacing you want.
6. Add a product to your cart. Open the side cart in the preview and check the widget’s position and appearance.
7. Click Save.
These selectors are theme-specific. If the widget doesn’t appear, or appears in the wrong position, contact GoGenerosity for the correct selectors for your store via support@gogenerosity.com.
3) Adding the checkout widget - Shopify Plus stores only.
- Return to GoGenerosity → Setup.
- Under Checkout, click Add in theme editor.
- Add the GoGenerosity Prompt (Checkout) block.
- Move it to your preferred available position.
- Adjust the settings as needed, including:
- Whether to include the block in Shop Pay.
- Whether to hide the impact statistics.
- Whether to hide the charity image.
- Whether to use alternative button styling.
- Click Save.
- Return to onboarding and mark the step as done.
Note that only Shopify Plus stores can customise the checkout with third party App blocks.
Complete setup and customise your wording
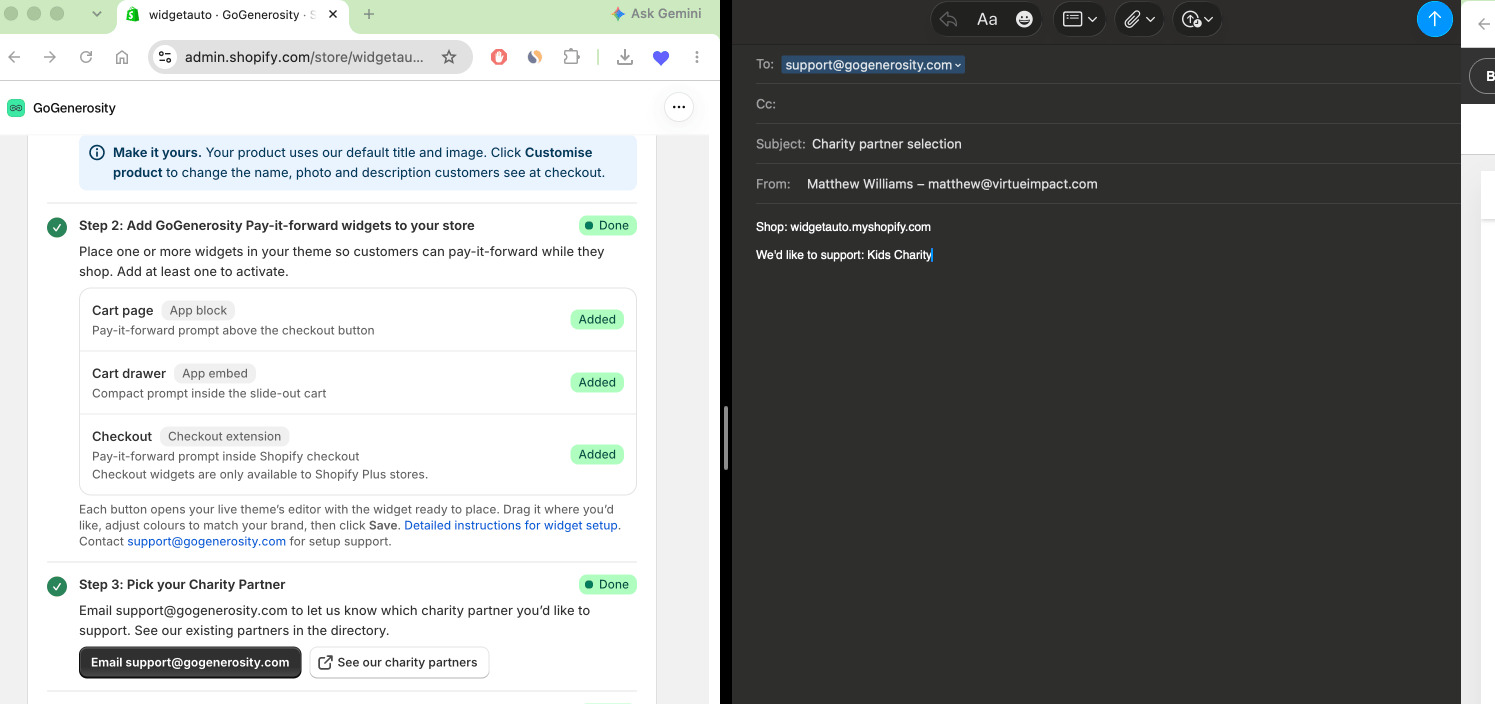
- Under Pick your Charity Partner, let GoGenerosity know which charity you’d like to support. Charity partnerships are processed manually due to fundaising compliance. Sending us an email completes this step.
- Complete Choose a plan.
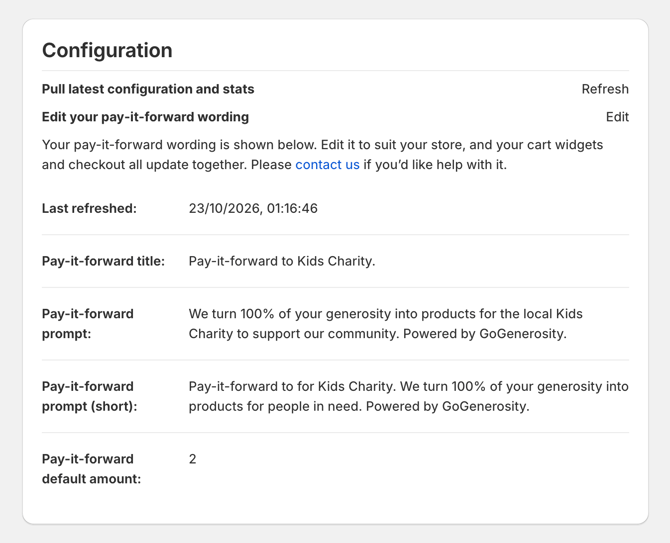
- In Configuration, click Edit beside Edit your pay-it-forward wording.
- Update and save your wording under 'Configuration'. This is the wording customers will see on your pay-it-forward widgets.
Make your widgets live
- Once setup is complete, turn on Show Pay-it-forward widgets on your storefront at the top of the GoGenerosity setup page.
- Check the widgets on your storefront and test adding a pay-it-forward amount.
- To hide the widgets later, turn this toggle off.

Instruction video on how to set this up
Need help?
Email support@gogenerosity.com and we’ll help you get set up.